

Hey, everyone today's post is on a cool DIY I got from http://fashion.onblog.at/en/diy-advent-17-beautiful-recycling-barcelets-from-plastic-bottles on how to make your own bracelets with recycled water bottles.
What you will need

1. Water Bottle
2. Glue Gun
3. Tape
4. Fabric
5. Exacto Knife

Get your tape and wrap it around the water bottle once.

Then cut around the water bottle on both sides.

Then try on your bracelet it its too small your going to resize it. To resize the bracelet cute down the middle.


Open the bracelet until its the right size to fit your wrist, and apply tape to the opening as well as the inside.

Next cut your fabric about the length of your arm and 5 fingers wide.


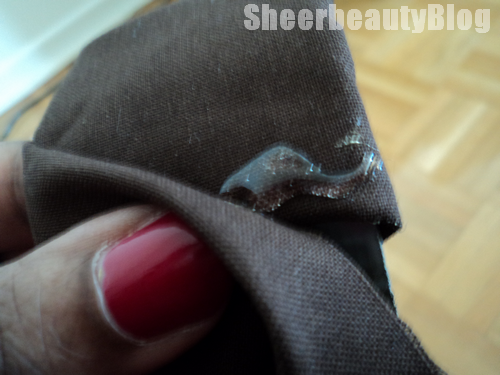
Next take your glue gun and place glue at the edges and fold over like in the pictures above.


Next glue the edge of the fabric and place it on the inside of the bracelet. Keep edges folded as you wrap the fabric around the bracelet. Like this


Now if you want to, you can apply a bit of glue to help keep everything tight as your wrapping the fabric around the bracelet.

When you get to the end fold your fabric so it looks like this. If you have alot of fabric left over your going to cut a bit of it off


Next step is to apply glue to the edge and fold over, then apply glue again to the edge and glue your fabric to the inside of your bracelet. Once you have done that your done!
And your bracelet should look like this......
.....................
.................
...........
.......
....
..
.
And your bracelet should look like this......
.....................
.................
...........
.......
....
..
.

Enjoy your new bracelet!


Wow, this is so creative!
ReplyDelete@Ronnie thanks :)
ReplyDeleteGreat little tutorial, and very cute bracelet!
ReplyDelete@Amber Thanks :)
ReplyDelete